
Backstory
If you haven’t heard the creator and owner of Annotation Edit passed away in 2024 (maybe 2023). I had reached out to him a few times for fixes back when he was still alive and was just a great guy. (reference)
Method 1 – Partial working
Download fixed helper appMy Use case was to adjust timing of the SCC to the video, maybe fix the sync drift and a few other things, so your mileage may vary.
- Download this file and extract the app to your Applications folder on your mac
- This app is just an automator script that calls to the executable in the original Annotation Edit app package
- Your Install of Annotation Edit must exist in this location
- /Applications/Annotation Edit/Annotation Edit.app
- If yours is in /Applications/Annotation Edit.app, then open the “Annotation_Edit_Fixed.app” with Automator and fix the path.
- Change the association of all your Annotation Edit files (MVTT), and all caption files (SRT, SCC, VTT, etc) to the “Annotation_Edit_Fixed.app”
- Now when you open any of those files it will work (sort of…)
- Caveouts:
- This version works fine with simple exports that have no extra export windows like SCC, SRT, VTT. Any with windows will not work
- In order to quit it make sure the preview video windows is not selected
- If you close the file and don’t quick AE it will be stuck if you try to open another file.
- If you do click on another file and didn’t quit AE, when you do quit it, right after it will reopen with the next file you opened.
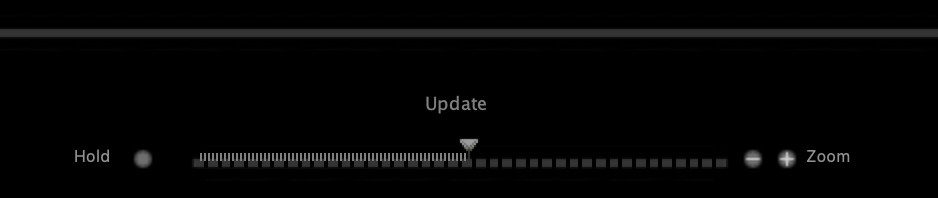
- I order to get a video working to preview follow these steps
- Choose the video (you will see “Update”, but it will never play)
- Save the MVTT file
- Quit Annotation Edit
- Open the MVTT file
- Choose the video (you will see “Update”, but it will never play)
- Creating a new document can take a while
- (I’ll continue to add to this list as I find them or comments roll in)
Method 2 – Virtualized with UTM
Use this method if you the caveaouts above are too great for your use case
- Download and install UTM (link)
- Download the the MacOS 13 Ventura IPSW file that matches your mac (link)
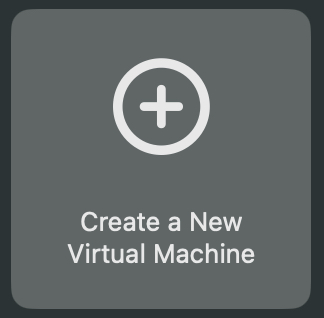
- In UTM click “Create a New Virtual Machine”
- Then click “Virtualize”
- Click macOS 12+
- Choose the default 4GB of ram. Click Continue
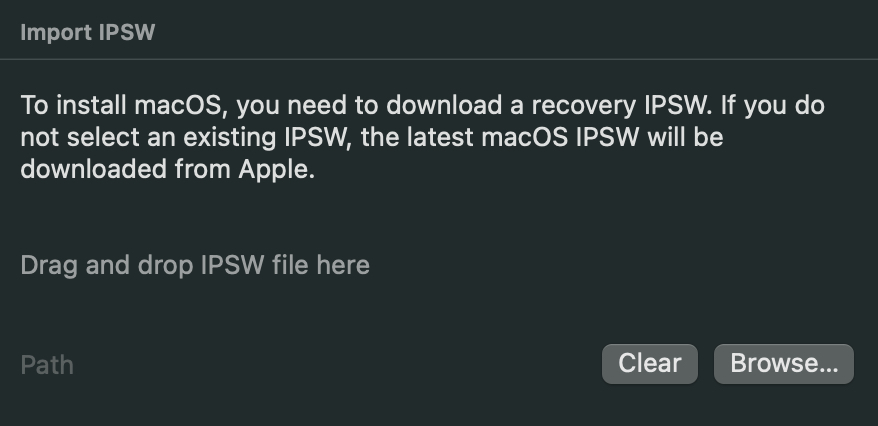
- Drop your IPSW file you downloaded where it shows
- Then just click Continue and Save
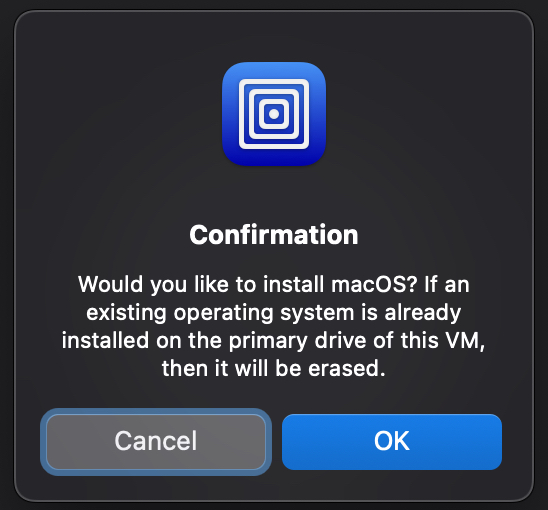
- Now just click the Run (play button) and you will get this screen. Just click ok as it’s installing on the virtual drive you created
- Once it’s install you will need to just walk through the basic setup of Mac and get Annotation Edit installed
- UTM has a way in the top right corner or when you edit your VM settings to use a folder from your host Mac OS, but after I pick it, it does nothing.
- I don’t use Natural Scrolling on Mac, but since it doesn’t recognize a mouse/trackpad device I had to run this command in the terminal in the VM
- #!bin\bash
- defaults write NSGlobalDomain com.apple.swipescrolldirection –bool false
- Use this post if you need a more detailed instructions

Alternatives
Haven’t tried all these options cause it’s hard to find an option that can do broadcast captions like SCC
Rougegorge Subtitles – This looks the most promising and even touts itself as “The Annotation Edit Alternative” on the website
SubtitleEdit – Doesn’t have SCC support. You have to google search to find the mac version that is the windows version running on Wine.